In professional conservation courses and all literature the benefits of using lime are constantly reiterated. The most primary and mammoth task was to convince the owner the benefits of using lime over cement. A process that took more than 3 years as every time he would come up with ideas that we need to add silicon injections, chemicals to strengthen the lime.
Setting up the mortar mill
In most conservation sites in India, traditional practices of lime making are adopted, a circular mortar mill is made of 10' diameter and a large crushing stone of 3' dia is hurled by a bullock a tractor or an auto rickshaw.
Our biggest challenge was given that we were restoring a town house in the walled city with no garden or free open space for installing this mill. Secondly, the restoration work was to happen while the family continued to stay in some parts of the house.
The second option was to use a mechanical roller pan mixer as is used in projects abroad. Market research indicated that the ones available in India didnt use stone as crushers and had steel wheels and thus mortar would have remained coarse. The second problem was that the manufacture was based in Gujrat abt 1800kms away from our site and the cost of customisation and transport was making the proposition very expensive and unsustainable.
So we innovated our own combination of the mortar mill combining the mechanical and traditional system. We were able to within the courtyard create a small mill of dia 8'0" and within it we placed a mechanised mortar that hurled two small grinder wheels to crush the mortar. These grinder wheels were much smaller than the traditional ones since these were made for the idli mixes and secondly due to a ban on quarrying of stone in the region we could not get the original stone. With no space for the slaking pit, we reused old industrial troughs to slake the lime
We thus used local engineering know how and old salvaged parts of mortars and new grinding wheels locally available to set up an assembly. An R & D that took a month to get it right but once set, we had the mortar mill running!
Again going by the best practice, we took samples of the old decayed mortar and sent them to the local material testing lab to understand what the original mortar was like. Our research over an entire year had lended us various recipies of lime mortars, some from books, some from practical information from other live sites. Every craftsman had concocted their own cocktail of adding a magic ingredient like, jaggery, fenugreek, belfruit, black gram lentil etc.
We decided to make samples of each of these variants and send them for testing in the lab to take an informed decision as to what was the best applicable mix for us.
The mortar was then left for maturing for about 2 months (60 days) to attain its structural strength and then knocked up for use at the time of the structural repairs.
 |
| Step 01 18102013- Constructing the brickwork for the Mortar Mill on Site |
 |
| Step 02 24102013- First batch of lime has been slaked. Creamy consistency of the lime putty has been achieved |
 |
| Step 03 31102013 The setting up of the assembly for the mortar mill |
 |
| Step 04 11112013 The testing revealed that the mortar needed to be repaired, a new belt added etc and it was ready for final operation |
 |
| Step 05 11112013 The first batch of mortar being prepared |
 |
| Step 06 11112013 After running the mortar mill for over an hr the perfect consistency of the mortar has been achieved |
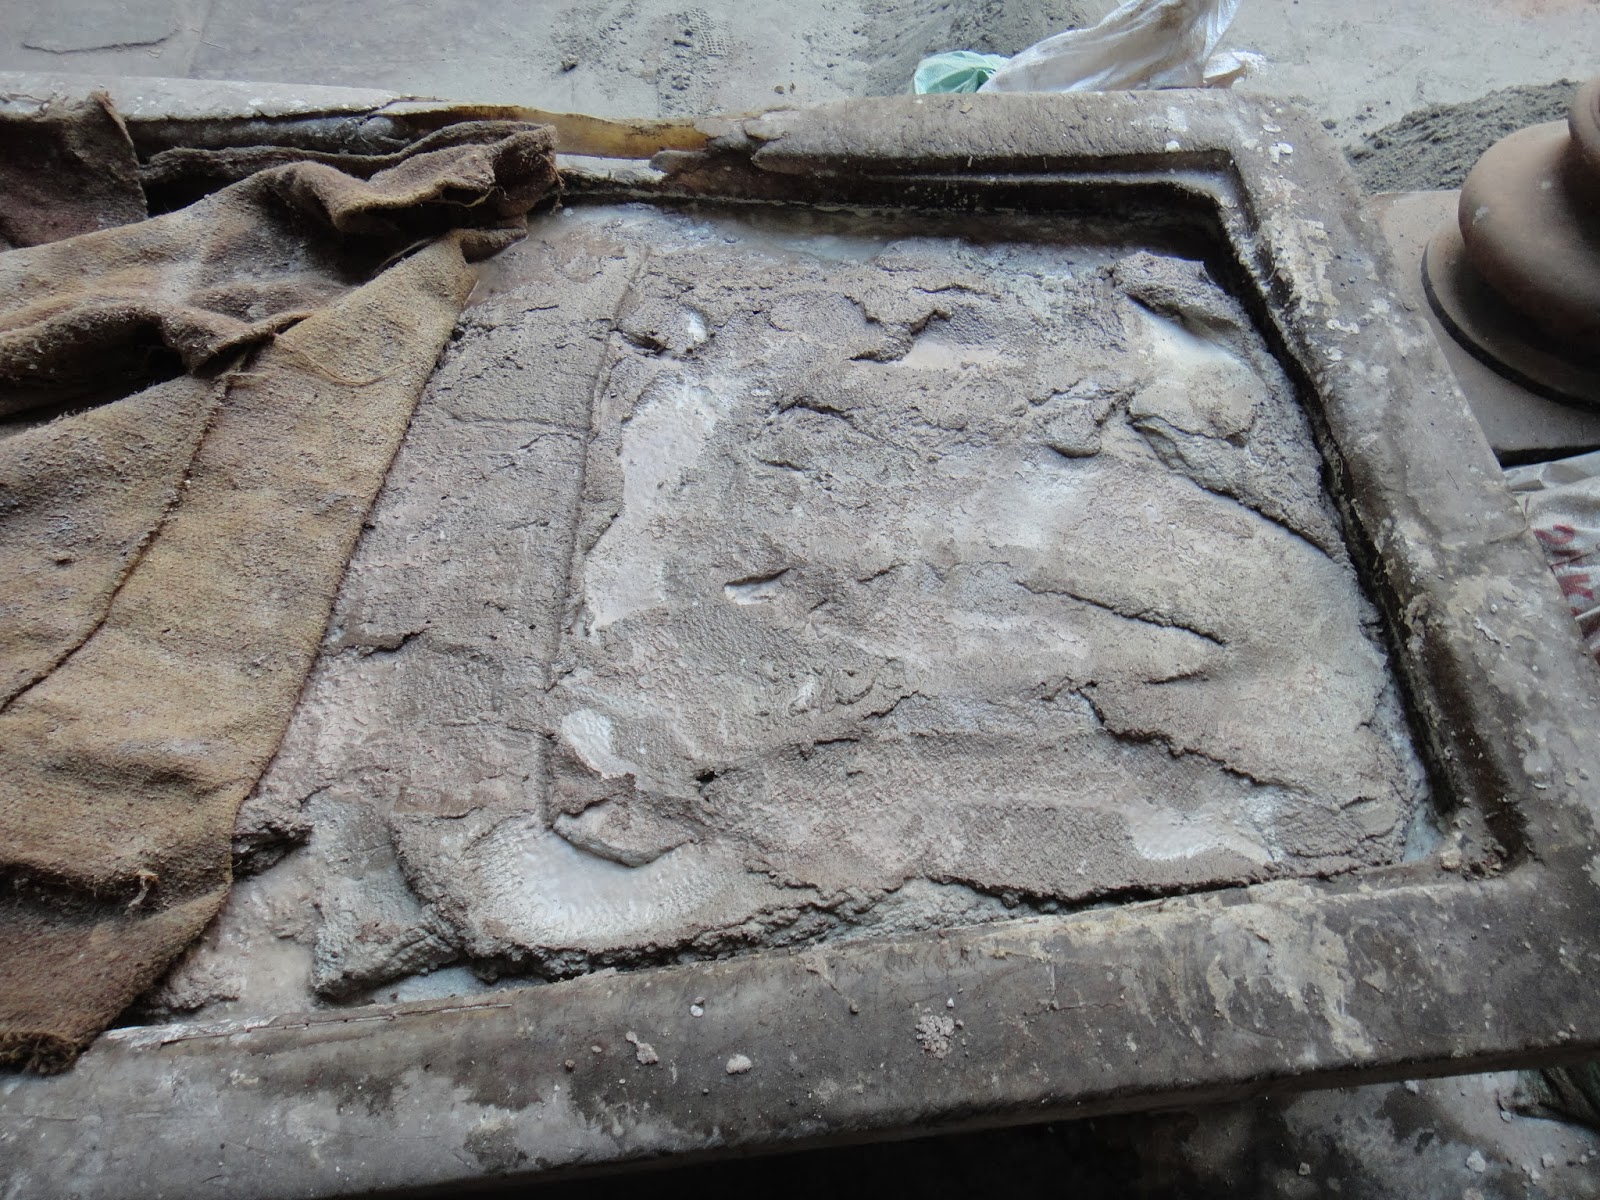 |
| Step 07 24112013 Final mortar |
No comments:
Post a Comment