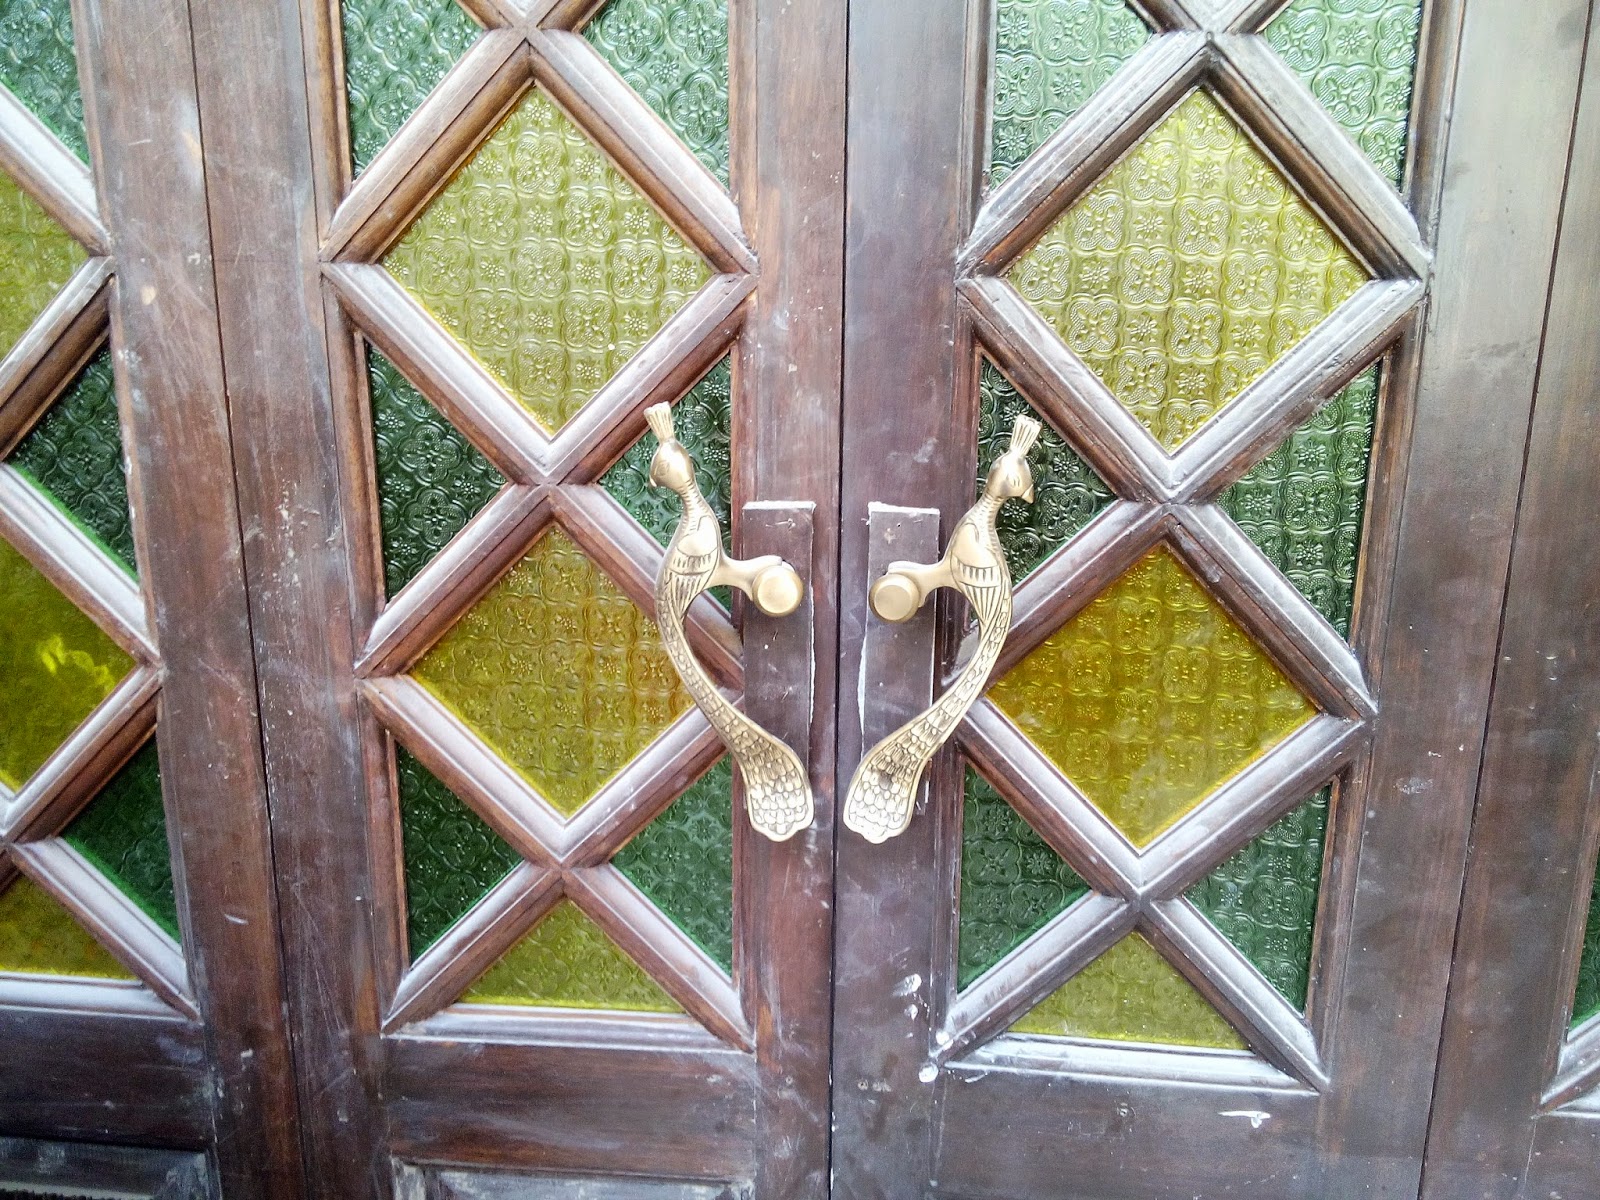
Designing a house for a marwari joint family, one of the biggest challenges was the need for incorporating a large kitchen and wash, a kitchen that was to be used by the ladies of the house as well as their helpers. It had to be modern, contemporary state of the art, like most of their relatives living in the posh south Delhi colonies was the brief given to us.
There were two adjacent rooms, one was now being used as a store and office, while the inner room was almost cordoned off as it was in a severe state of structural distress with a large crack and risen floor as well as several cracks on the walls. We set out on the task of joining up these rooms to make the kitchen and wash area, there was a lot of work required beginning with firstly structurally strengthening the structure, relaying the lime concrete flooring, repairing the cracks and then retrofitting it with modern amenities. The most difficult part was agreeing on the design, which changed at least 7 times as the owner and his wife didnt seem to agree on how they wanted the kitchen to function, finally we put our foot down and decided it for them.
 |
| October 2010, Room No 1 was used as a store cum office |
 |
| October 2010 Room No 2 was ridden with structural problems like risen floors, rising damp and distress |
 |
| October 2010 Distress in jack arches and walls was evident |
 |
| October 2010 Rising damp upto 4 feet was common across both the rooms |
 |
| October 2013 Cement Plaster was carefully pealed back to reveal the original masonry |

 |
| October 2013 The variations and previous repairs in the masonry were now recorded on the drawings |
 |
| Nov 2013, The Distressed Lime Concrete Floor was carefully taken down, the sub floor was completely damp |
 |
| Nov 2013 The ground was cleared and levelled and compacted and the masonry was consolidated |
 |
| Dec 2013 The floor compacted with old bricks, old lime plaster and thoroughly compacted |
 |
| Dec 2013 Almost 5 inches of lime concrete was required to be laid |
 |
| Dec 2013 Coarse Aggregate and Lime Mortar is mixed with hand into a smooth consistency |
 |
| Dec 2013 Finally a smooth layer of the floor was laid |
 |
| Dec 2013 Slowly the floor begins to dry simultaneously the electrical conduits have been put in |
 |
| January 2014 The Lime Concrete Floor begins to gain strength over 3 weeks of curing |
 |
| February 2014 Room No 1: The first coat of lime plaster on the kitchen walls |
 |
| February 2014 Room No 2: The first coat of lime plaster on kitchen walls |
 |
| May 2014 After the second coat of plaster, the kitchen begins to take shape after the counter and partitions are erected. All the work in this kitchen has been undertaken in lime mortar |
 |
| July 2014 Especially hand crafted replicas of historic tiles were made locally at Khurja to complement the vocabulary of the classical kitchen in a historic building. All tiles have been fixed with "home made" lime mortar and the use of cement has been completely avoided. |
 |
| July 2014 Merging the contemporary needs of modular kitchens with the historic ambience was challenging, the choice of material was hugely critical |
 |
| July 2014 A closer look at our hand made tiles sourced locally |
 |
| August 2014: Work in progress, lime as a material requires a lot of patience so we need for it to dry and gain its strength while the modular kitchen guy is manufacturing the stainless steel trolleys |
 |
| September 2014 the woodwork in the kitchen taking shape |
 |
| September 2014 The marble flooring is now laid as per the design and ready to be polished |
 |
| Oct 2014 The Kitchen taking shape, the modular kitchen emerges with modern fittings and woodwork |
 |
| Oct 2014 Built in ovens incorporated within the design of the kicthen |
 |
| October 2014 Contemporary switches which are compatible with the historic ambience of the kitchen |
 |
| November 2014 The woodwork is slowly taking shape |
 |
| November 2014 The floor is now ready and polishing begins |
 |
| December 2014 Another colossal task of polishing the wood begins |
 |
| December 2014 Its a mess as all the pull out drawers and shutters are stacked to dry in the damp weather |
 |
| December 2014 we choose from an array of options what should be our perfect handle |
 |
| January 2015 We inch closer to completion, the handles are fixed, shutters polished |
 |
| January 2015 We are almost there, the glass is fixed |
 |
| January 2015 Locally made textured glass adorns the windows |
 |
| January 2015 The lights are up, the kitchen is now ready to be officially inaugurated on an auspicious day |
 |
| May 2015: 5 years later we have a fully functional modern kitchen in a Grade II listed building |
 |
| May 2015: The spatial relationships enhanced by the choice of finished |
 |
| May 2015: Finally in use! |
 |
| May 2015: Finally in use! |